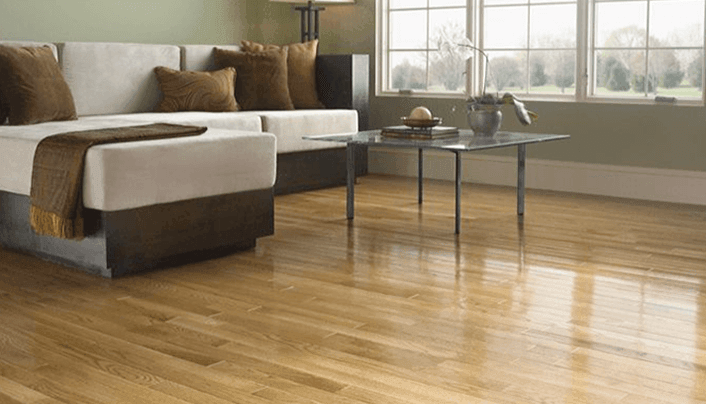
There that homeowner who’s houses floor is made of hardwood. Maintenance of the floor is vital to maintain the beauty and elegance of the home. After a while, the wooden floor loses its original color and will become unpleasant to see, so the only solution to this is by staining the floor so that it will look brand new again.
The biggest question is how exactly the process is done and how many coats of the stain does it take to get back the wooden floor to its original color. If you want to save the cost of a contractor, then this is the place to learn to do it for yourself. This is a step by step guide on how you can stain your hardwood floor.
More on LivingProofMag
Best Way to Clean Dog Hair off Hardwood Floors
Signs of Mold Under Hardwood Floors and How to Remove It
Is Pine Sol Good for Hardwood Floors
Best Engineered Hardwood Floor Cleaner
Contents
Remove the Previous Finish
Before anything starts on the staining project, you will have to ensure that the room is empty. Remove any furniture or carpeting. To remove the finish is the most tiring task of the project. You will need two types of sanders on this step. The first type is the 40 grit extra coarse sander; this will quickly remove the top coating of the wooden. Sweep off the dirt that comes off and take the 120 grit fine sander so that your wood floor has a smooth finish.
The process of sanding can be a very tiresome task, alternative if you do not own a sanding machine you can rent one so that you can be able to do the sanding process instead of doing it manually. Always choose a sanding device that is either square or rectangular to get into the edges smoothly. While sanding, ensure that you have a dust mask to ensure that no dust affects you while working on your floor.
Cleaning the Floor
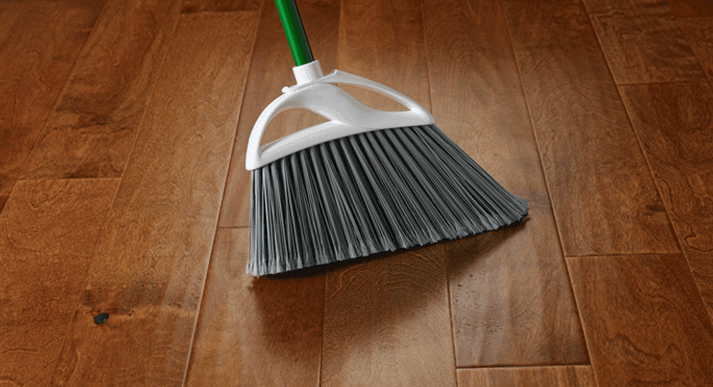
It is an essential process because you do not want to stain the wooden floor if the surface is dirty. First, you will need to have a broom and a dustpan to sweep off the top layer of the dirt that would have come off from sanding the wooden floor. The next step is taking a vacuum cleaner to clean up the excess dirt that you would have not to reach. The last step is mopping the floor with mineral spirits. Avoid using water and soap in the cleaning process is water can damage the wooden floor.
Preparing Your Tools for Work
Preparing tools for the job is a critical point before the actual staining begins. You will need to have all your necessary tools near you before the actual staining starts. After selecting the type of stain, you are going to use, carefully read the manufacturer’s instructions so that you know the area the particular stain can cover. Calculate and know how many containers you will need according to the size of your floor. Add 10% to be safe.
For faster staining of the hardwood floor, choose a rug instead of a brush for the work. A bush will waste your time and will exhaust you in the end. A rug is a more comfortable option. You will need to have two rugs for every 100 square feet of floor. Each rug should be around a tea towel size. The first rug you will dip into the stain while you can use the other rug to wipe off the excess stain. You will need to change the rugs for the wide floor as it will get full over time hence the 100 square foot rule.
Staining the Floor
After the painstaking process, at last, you are ready to stain your floor. But before you start doing so, you need to fully open the windows in the house to ensure proper ventilation as the stains emit very harmful vapors. Mix all the stain of choice in a bucket, avoid shaking it as will produce bubbles. Wear disposable gloves as the stain tends to be sticky and might be hard to remove.
Start staining your room from the corners, working yourself out to the exit. Dab the rug into the bucket of stain. Due to the thickness of the rug, it will soak in excess stain, press against the bucket to remove the excess. Place the rug at the edge and leave a 3-foot gap between you and the rug. Apply in one fluid motion by going with the grain of the wood. Push the rug towards you while pressing it down gently. Use the stained rug for three by three feet of the floor before dipping it back into the stain. Use the other dry rug to wipe off any excess.
When you are done staining the floor, allow it to dry, this will take about 3 to 4 hours. The question is for how many coats are required to stain a floor. When you are done with the first coat, you will notice the result is the floor has a lighter shade of color from the stain. It is advisable to do a second coat of stain to attain a darker shade of color. For the second coat of stain, repeat the same procedure that was done in the first coat. It will leave the wooden floor look new again.
Apply Top Coat
After you are done staining the floor with the two coats, leave it at least overnight before you proceed to this last step. The topcoat is a transparent layer that will give your hardwood additional protection while giving it an added shine of the stain. Similarly, as from applying the stain, ensure that your room is well ventilated and use two rugs, one to apply the clear topcoat, while the other to wipe off the excess. You need only a single coat for this step.
Conclusion
Staining a hardwood floor is a completely easy and fun process to do. If you can follow the steps above, your floor will be looking brand new again in a matter of days. It is essential to know that you will need to wait at least three days before returning any furniture into your room.