If you are a DIY enthusiast & ever in need of a quick fix for your wood project. Then, there is no better choice than liquid nails. Liquid nails are the fastest way to attach boards without any mess or fuss. The best part about them is that they hold so well. However, if you have a weighty object needing to be held up, this product will not let you down!
Before going to the process, let’s take a quick note on what actually liquid nails is. It’s basically an adhesive that comes in glue, which is easy to apply and dries quickly. It doesn’t require heat or any special equipment for drying, and soon you will be able to handle the project just like before.
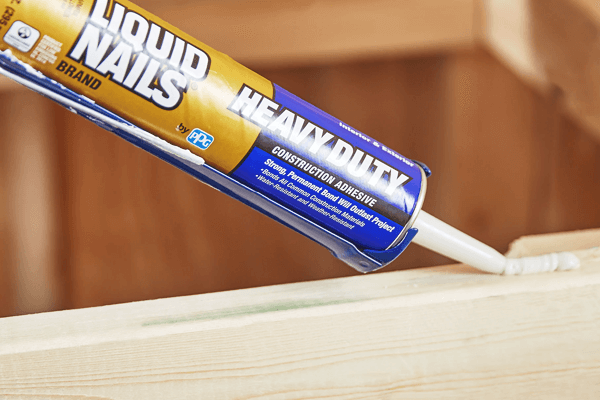
There are different types and formulas available in liquid nails, but the standard one comes with a squeezable plastic tube which makes it easy to apply.
Step By Step Guide To Use Liquid Nails On Wood?
Now that you have an idea about what liquid nails is. Let’s move on to the Step by step application part.
Preparing The Surface
The best way to ensure a strong bond is to ensure that the surfaces you will be sticking together are clean and dry. So wipe away dirt, grime, or dust from the surface before applying liquid nails on wood.
In the case of weather-worn wood, sand it down. So that all rough edges can be smoothed out.
Apply The Adhesive
The application of liquid nails is simple. You just need to apply it directly on the joints or seams where you want something to be held together. Do not spread out, as this will reduce its sticking power.
If possible, try to use an applicator gun or caulking gun for the task. This will make the job easier.
Remove The Smeared Adhesive On Edges
Once you are done with the application, try to remove any excess adhesive from the edges of the joints. This will make it easier for the adhered surfaces to meet and form a tight seal. A putty knife or an old credit card can help you out in this regard.
Drying Time
As mentioned earlier, it doesn’t require heat or special equipment for drying. So once applied, liquid nails can be handled in about 4 hours and remain tacky up to 24 hours.
And there you go! Once your liquid nails on wood have dried, your objects will stick together so strongly that you won’t even be able to separate them. So just ensure that you don’t use it where disassembly is required. Also, wear gloves while using this adhesive as it’s not friendly to the skin. Otherwise, go ahead and give this adhesive a try for stronger bonds!
Tips And Tricks For Using Liquid Nails On Wood
Find A Patented Product
There are plenty of good liquid nails available in the market these days. But one thing you should be careful about is that they have been patented. You can tell this from the label itself, as it will bear a patent number and a tree logo.
Always Read The Label Before Use
This product has different types and formulas, which might not work well with all surfaces or materials. So always read up on the label before applying this to anything.
Use The Right Brush Or Applicator
You might not realize it, but the way you apply liquid nails can make or break your bond. Always use a proper applicator, be it using a paintbrush or, even better, a roller. Also, read up on how much amount of adhesive is needed for optimal results.
Don’t Use On Wet Surfaces.
As mentioned before, liquid nails dry quickly and can be handled in 4 hours. But for this to happen, it needs a clean and dry surface. So, using it on wet surfaces or even damp ones will not give you the best results.
Always Clean Up Quickly And Thoroughly
Liquid nails can get messy quickly. So once you are done with the application, it is best to clean up as soon as possible with a solvent like acetone. Allow some drying time before using this adhesive on anything else.
Never Use On Skin
No matter how much you read or follow guidelines, accidents can still happen with liquid nails. So please keep in mind that this adhesive can cause eye and skin irritation.
Advantages & Disadvantages Of Using Liquid Nails On Wood
Advantages
- No need for heat or special equipment.
- Fast and easy to use.
- Almost any substance or surface can be handled with it.
- It gives solid and lasting bonds.
Disadvantages
- It doesn’t work where disassembly is required.
- Less friendly to the skin than other adhesives.
- Not ideal for wet surfaces.
FAQs
Can Liquid Nails Be Removed?
Yes. It is possible to remove the adhesive by applying a solvent. Like acetone to loosen it up and letting it dry out. Also, the bond can be broken easily if one of the adhered objects is pulled forcefully.
What Surfaces Can Be Adhered Using Liquid Nails?
Wood, metal, ceramic tile, glass, fiberglass, brick, concrete, plastics, leather, rubber, and fiberboard.
Is Liquid Nails Waterproof?
No, liquid nails isn’t waterproof as they dry out too fast. So you’ll have to use waterproof glue for outdoor purposes.
Can I Use A Glue Gun With Liquid Nails?
No, this adhesive doesn’t work well with hot surfaces so the glue gun is not recommended.
Conclusion
Liquid nails on wood give you a fast and easy way to stick things together. It is perfect for any bonding task that doesn’t involve disassembly or wet surfaces. With its strong bonds, it can secure your furniture against earthquakes, windy weather, and much more.
However, ensure that you read the label before using this adhesive. As different types and formulas might be available. Also, use the right brush or applicator for optimal results. And don’t forget to clean up immediately after using this adhesive, as it can get messy fast! Happy bonding!